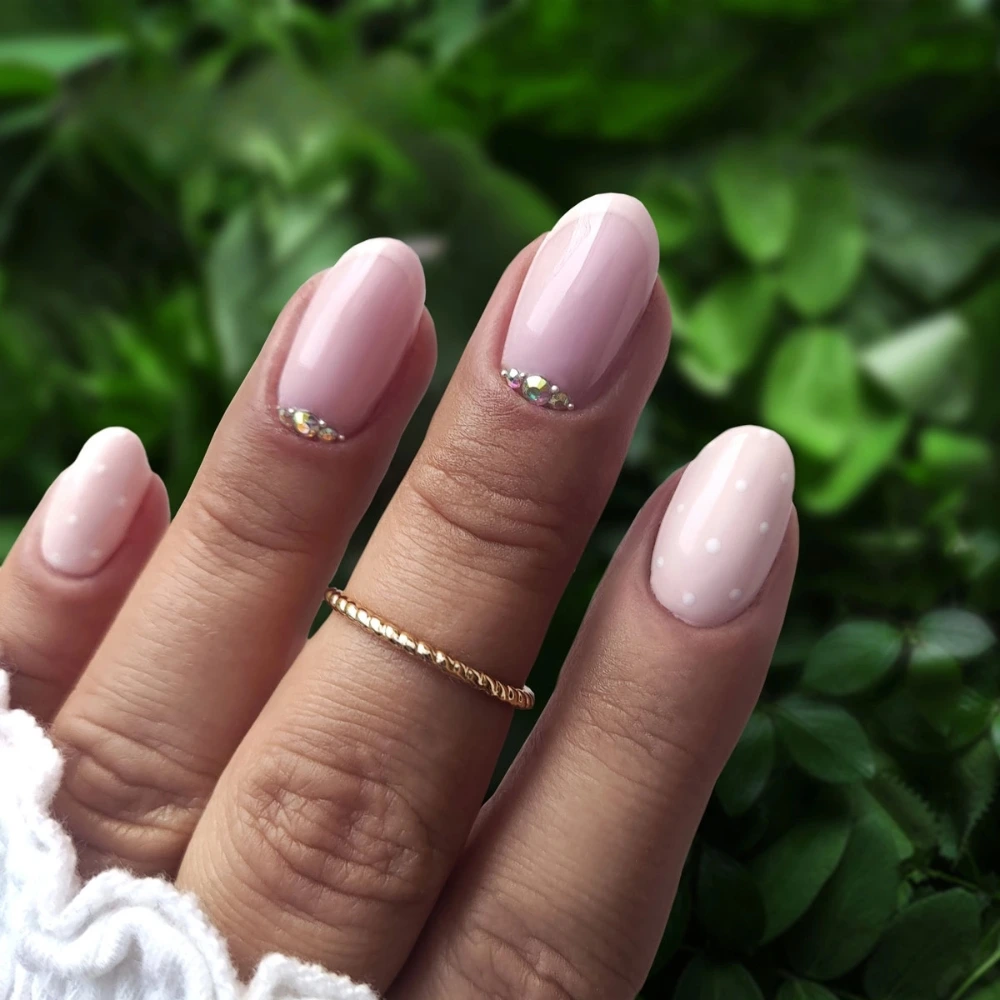
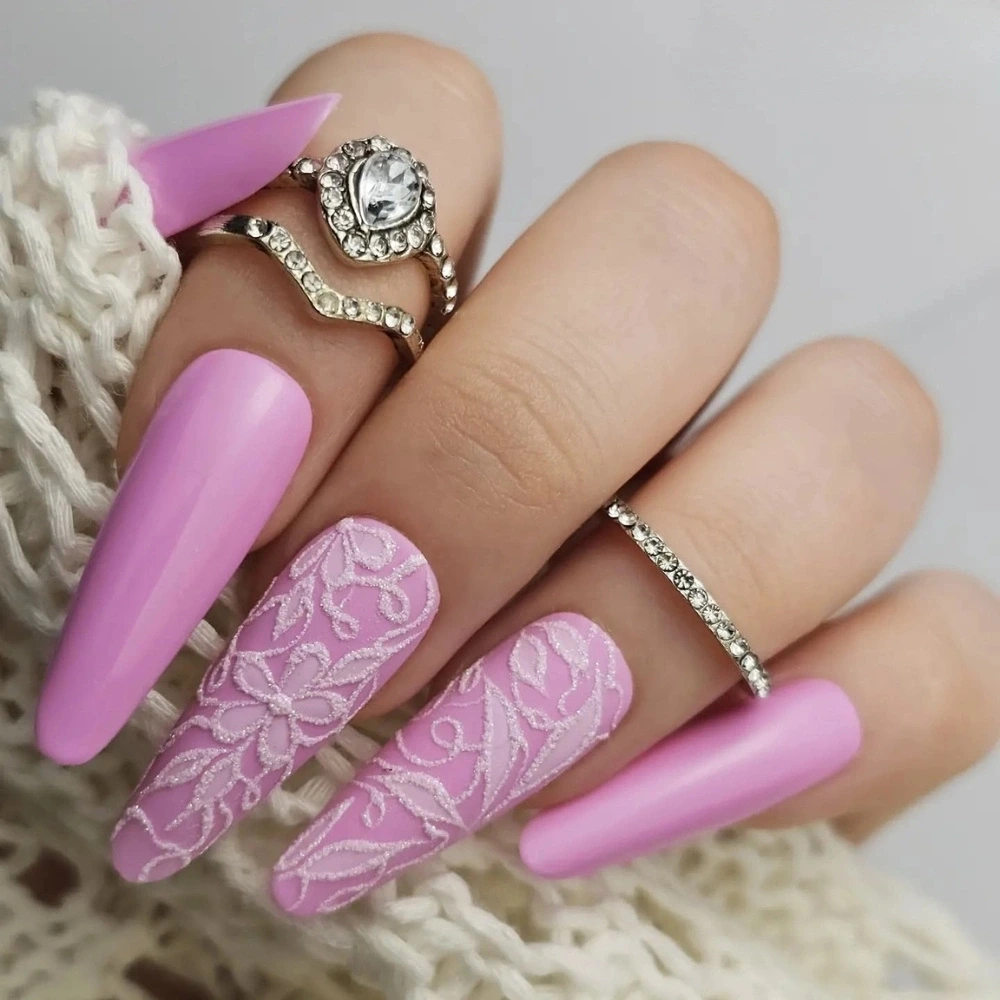
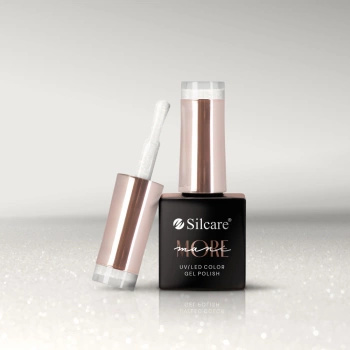
Princess nails—how to get a fairytale look?

Fairytale-like princess nails are a manicure that enchants with delicacy, sparkle, and charm. This style combines subtle, milky shades with shimmering shine. What’s more, you can easily create princess nails at home. In this guide, you’ll learn step by step how to create a princess nail look – from preparing the nail plate, through applying glitter, to choosing the right Silcare products that guarantee a dazzling, long-lasting effect. Get ready for a touch of magic!
How do you achieve the princess nails effect?
The princess effect on nails is achieved by embedding glitter particles, rhinestones, or other shiny elements into layers of polish or gel. The more varied the decorations (different sizes and shapes of glitter), the more three‑dimensional and original the result you will get. Although style is limited only by imagination, precision in execution and perfect nail preparation are key – only then will fairy‑tale princess nails look flawless. A well prepared nail plate, a suitable hybrid base and thin layers of product will ensure the durability of the design even for several weeks.
Princess nails – how to do them? Step‑by‑step instruction
Dreaming of a fairy‑tale princess manicure you can do yourself? Below you’ll find a step‑by‑step instruction. Get your essential accessories and products ready – including files, buffer block, UV/LED lamp, as well as hybrid polishes and Silcare decorations… let’s get to work! Doing princess nails at home is easier than you think.
-
Preparing the nail plate:
Start by removing old styling using a remover and working on the natural plate. Gently push back the cuticles (using a cuticle pusher and removing excess with nippers) and file nails into the desired shape. Then buff the nail plate with a buffer block and degrease thoroughly with cleaner. On this prepared plate apply a primer to increase product adhesion.
-
Hybrid base / extension:
On the prepared nails apply a thin layer of hybrid base. You can use a classic transparent base that will protect and strengthen the plate. Cure the base in the lamp as recommended (usually 30‑60 seconds with LED/UV).
Optional: if your natural nails are short and you want extension, now is the time to use a builder UV gel. Fit forms and apply a layer of gel (e.g. Silcare Base One Builder Gel in a milky or transparent shade). To build extension cure each layer of gel in the lamp per instructions. Remember that gel method requires some practice, but gives possibility of longer, perfectly shaped nails. For beginners, doing princess nails on natural length using hybrid is simpler.
-
Glitter application – the princess effect:
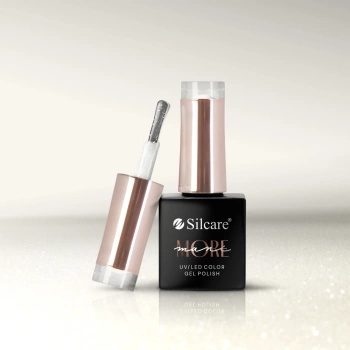
Now comes the magic glitter powder and creating the princess effect. Apply another thin base layer or a very light layer of hybrid polish in a neutral shade (e.g. semi‑transparent pink/beige). Do not cure this layer yet – it will serve as “glue” for the glitter. Then using a small brush (ideal would be Silcare ombre brush) or a wooden stick pick up a little loose glitter and apply it at the base of the nail near the cuticle. Apply the glitter particles densest near the cuticles, pressing them gently into the wet base/color layer. Gradually decrease the amount of glitter toward the center of the nail – the farther from the cuticle, the less sparkle. Such a layout will create a beautiful gradient, where the most glitter is at the nail base, and the free edge remains nearly uniform. Once you achieve desired effect, carefully cure the whole in lamp to embed the glitter in the design.
-
Color layer and ombre effect:
The next step is applying a opaque color that will create the characteristic milky finish of princess nails. Pick a light hybrid polish in shade of milky white, soft pink, or beige. Apply a thin layer of color, starting roughly from the middle of the nail toward the free edge – avoid painting from the very base so as not to fully cover the embedded glitter. This way the bottom of the nail with glitter remains slightly translucent, and the transition between sparkle and color will be smooth. Cure the layer in lamp. Then apply a second thin layer of color, this time covering almost the entire free edge of the nail up to where glitter begins – this ensures full coverage at the tips, while glitter near the cuticle will still shine through under one layer of polish. Cure again. This gradient effect makes the sparkling particles look softly veiled in milky color – exactly what princess nails are all about!
-
Top coat and finishing:
Finally seal your design with a thin layer of top coat. Apply the product over the entire nail surface, remembering to also cover the edge (free tip). This will lock in all decorations and prevent chipping. For princess nails a Silcare Top Coat Milky No Wipe works great – a top coat with a subtly milky tint. Such a product smoothes out the gradient borders and masks any imperfections in the transition between glitter and color. Milky Top also gives a soft, delicate gloss like a veil, enhancing the fairy‑tale character of the manicure. Cure the top in lamp. If using a regular top with a dispersion layer, after curing cleanse nails with cleaner. Finally it’s worth applying a drop of cuticle oil (e.g. Silcare Garden of Colour in any scent), to nourish and brighten the cuticles.
Princess nails tips and common mistakes
The princess nails style is considered relatively easy to do – the abundance of sparkle forgives small imperfections and effectively distracts from possible flaws or regrowth over time. Nevertheless, it’s good to remember some rules so that the manicure really dazzles and lasts:
- Apply thin layers: Avoid applying base, color or top too thick. Thick hybrid layers can wrinkle in lamp and weaken the longevity of the design.
- Glitter gradation instead of harsh line: Make sure that the glitter forms a smooth gradient, rather than being concentrated in one area with a sharp edge. If particles are applied unevenly (e.g. too much in one spot), after covering with color a patch of glitter may look abruptly separated. Follow the rule “from most to least” glitter along the nail length, and you’ll get a soft transition.
- Thorough prep and sealing: Remember that durability of style starts with a well‑buffed and degreased plate. Leaving dust or cuticle residue on the nail can lead to air bubbles and lifting of the hybrid polish. Always seal the free edge of each layer (color and top) to prevent chipping. At the end cure the top properly and don’t skimp on coating parts with decorations – if you feel roughness, you can apply a second thin layer of top coat for a perfectly smooth surface.
FAQ – Princess Nails
1. What exactly are princess nails and how do they differ from classic baby boomer manicure?
Princess nails combine a subtle color (most often milky pink or beige) with sparkling glitter particles embedded near the cuticles. Unlike baby boomer, which emphasizes smooth color transitions, here the glow and three‑dimensional decoration effect play the key role.
2. Princess nails – how to do them at home if I don’t have much experience?
It’s best to start with short nails and a simpler hybrid method. All you need is a good base, a semi‑transparent nude polish and glitter powder or a ready polish with glitter. Seal everything with top coat – even on first attempt you can achieve a fairy‑tale effect.
3. Which Silcare products do you recommend to get the princess nails effect?
To create princess nails these work great:
- Silcare Base One Builder Gel (for extension and nail building),
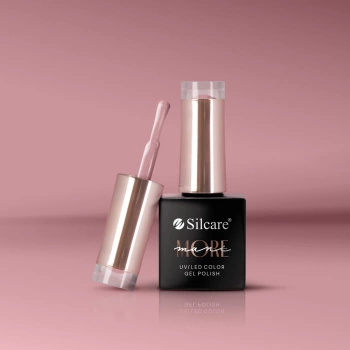
- Flexy Nude & Pastel Collection (delicate shades of pink and beige),
- Top Milky No Wipe (for a soft, satin‑like finish).
4. On which occasions do princess nails suit best?
This manicure is exceptionally versatile – it works for everyday wear, but also special moments. Princess nails are a hit for wedding, bride, prom or romantic date, because they combine subtlety with elegant sparkle.
5. How to prolong the durability of princess nails so the fairy‑tale effect lasts for many weeks?
The key is good nail prep: buffing, degreasing and using primer. Also apply each layer thinly and cure well in lamp. Finally always seal the free edge of the nail with top coat – this significantly reduces the risk of chipping.


